Silverpoint Drawing Style
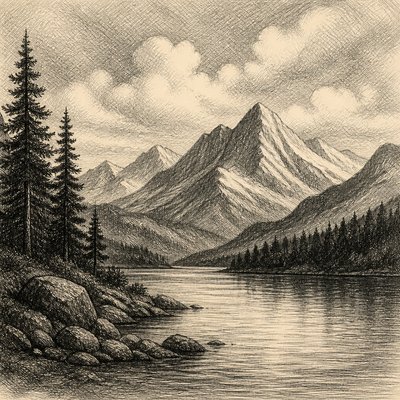
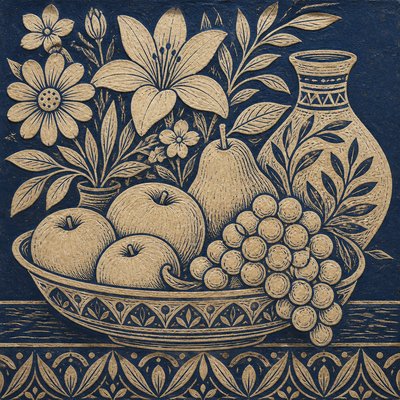
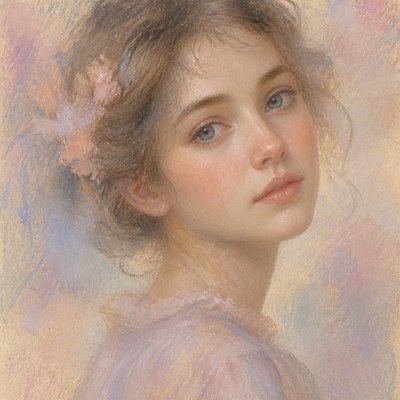
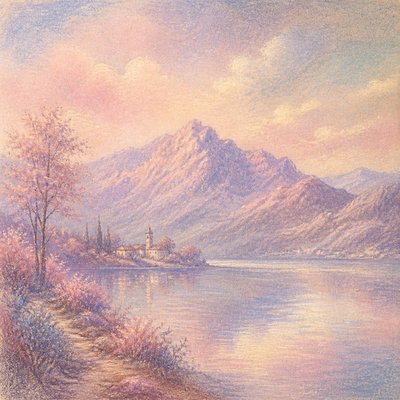
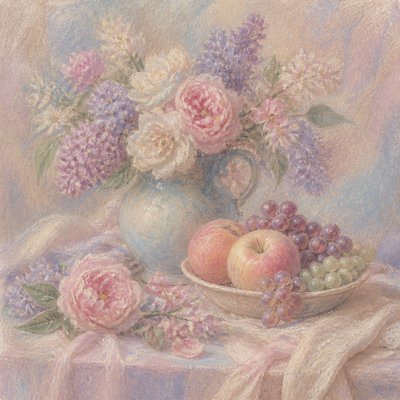
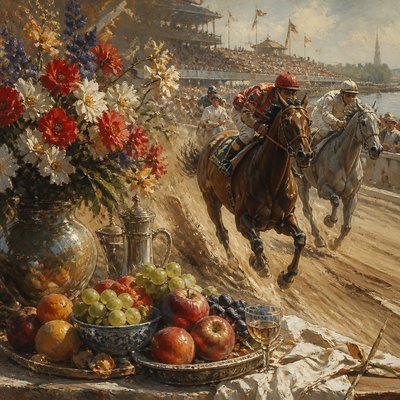
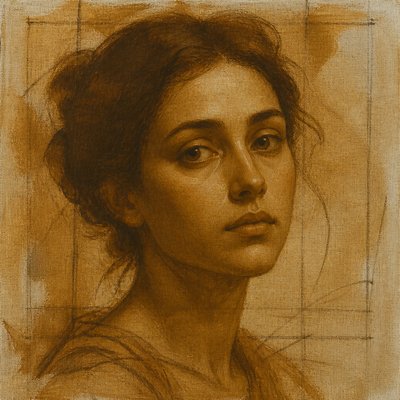
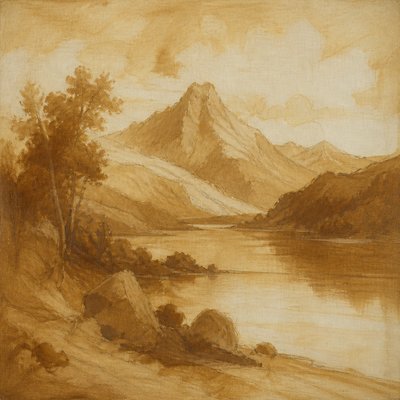
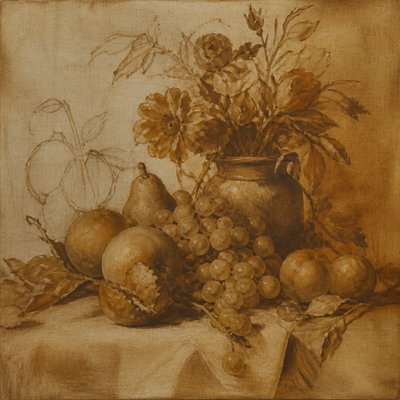
Explore silverpoint drawing: Renaissance-era precision rendered in pale silver-gray lines, delicate hatching, white highlights, and toned ground.
Instantly rendered in Silverpoint Drawing — or transform a photo
Silverpoint Drawing Gallery
Tap any artwork to explore it
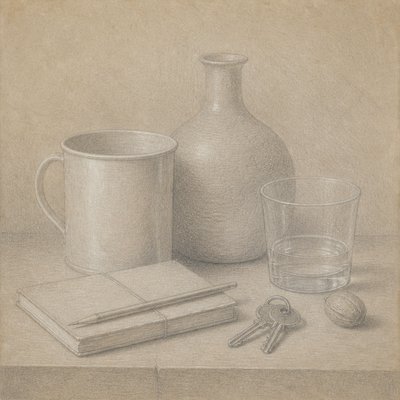
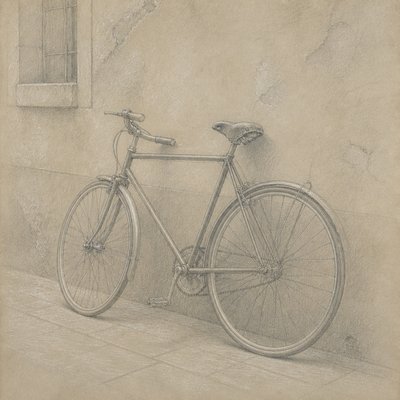
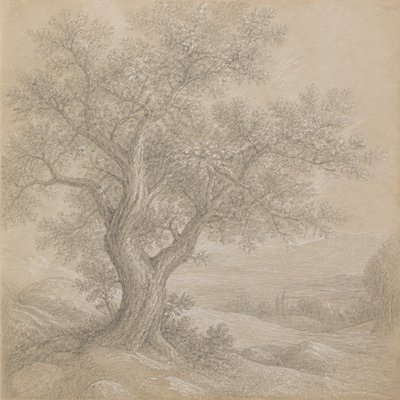
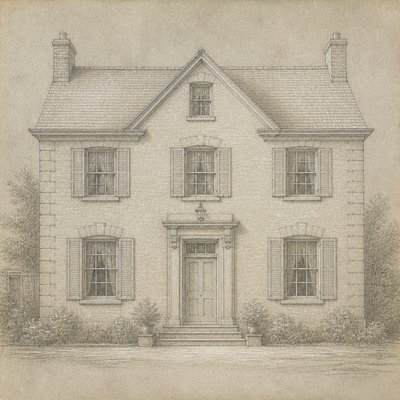
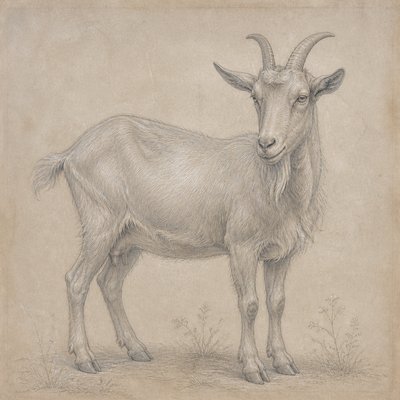
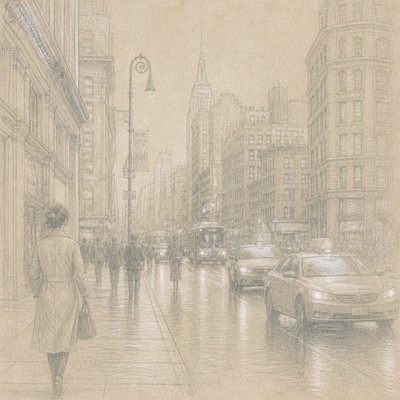
What is Silverpoint Drawing Style?
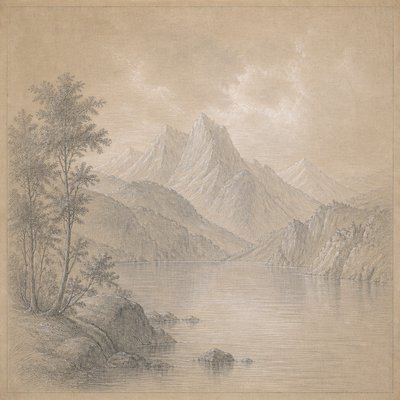
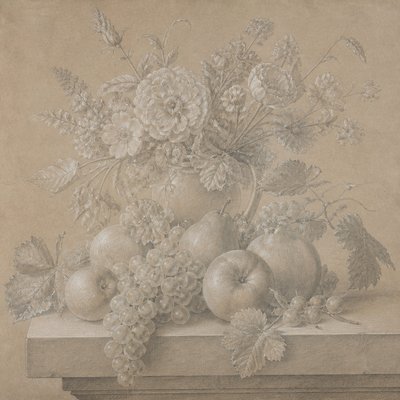
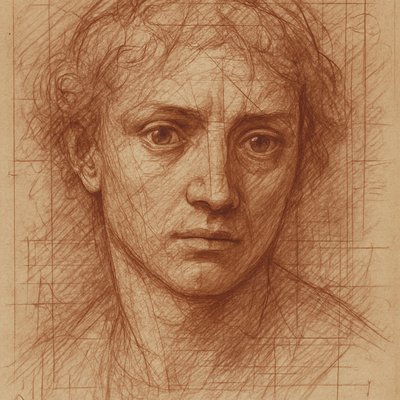
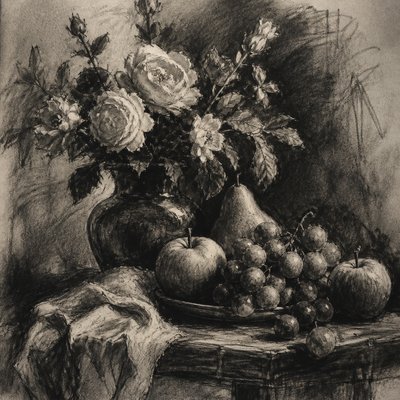
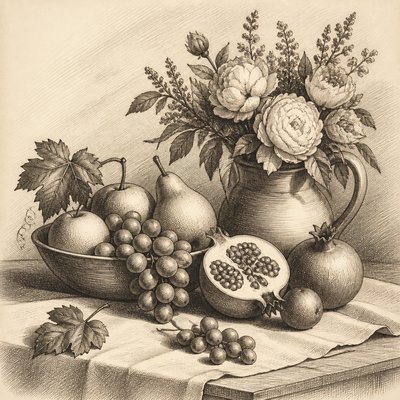
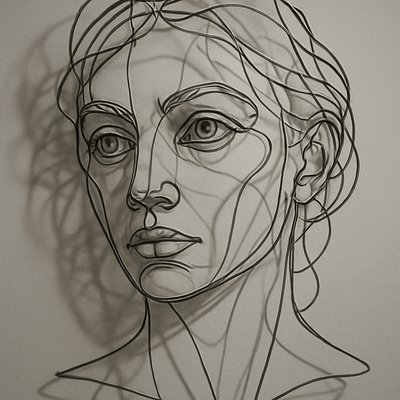
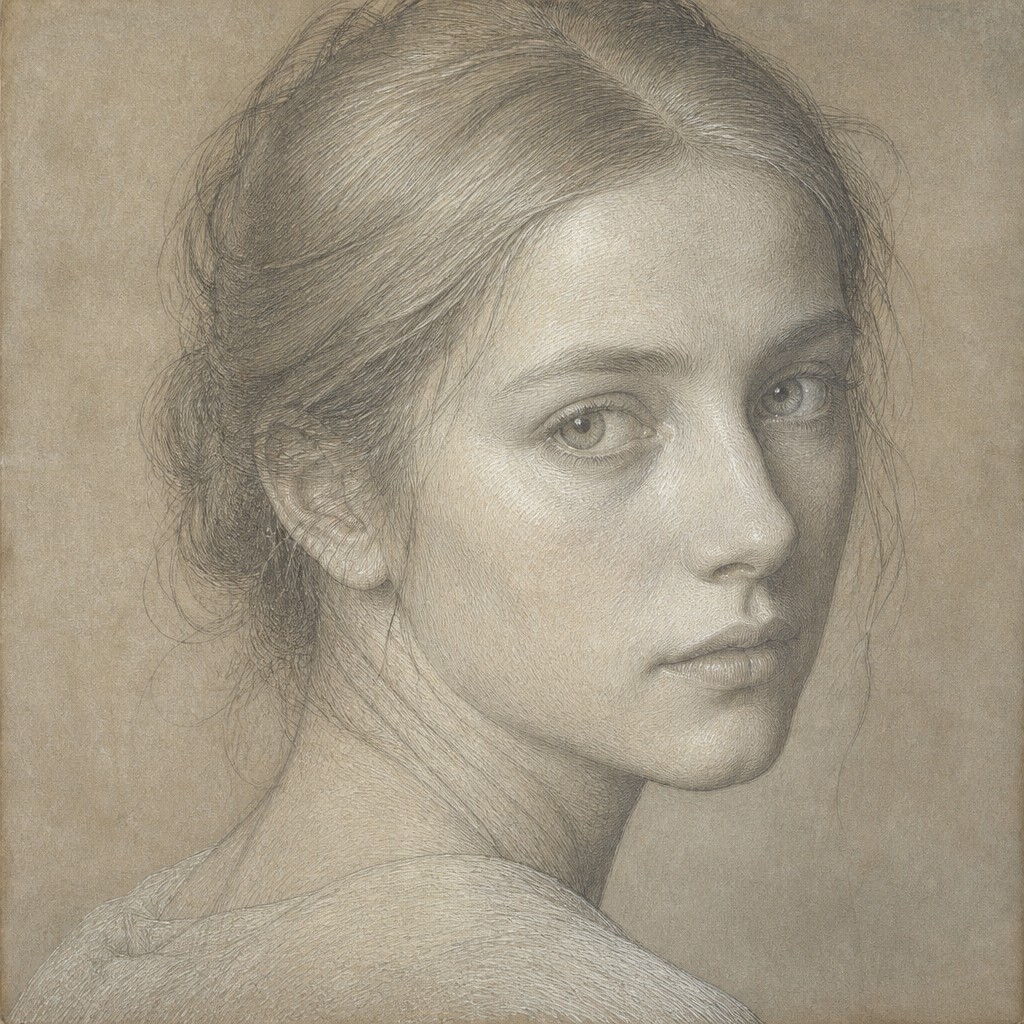
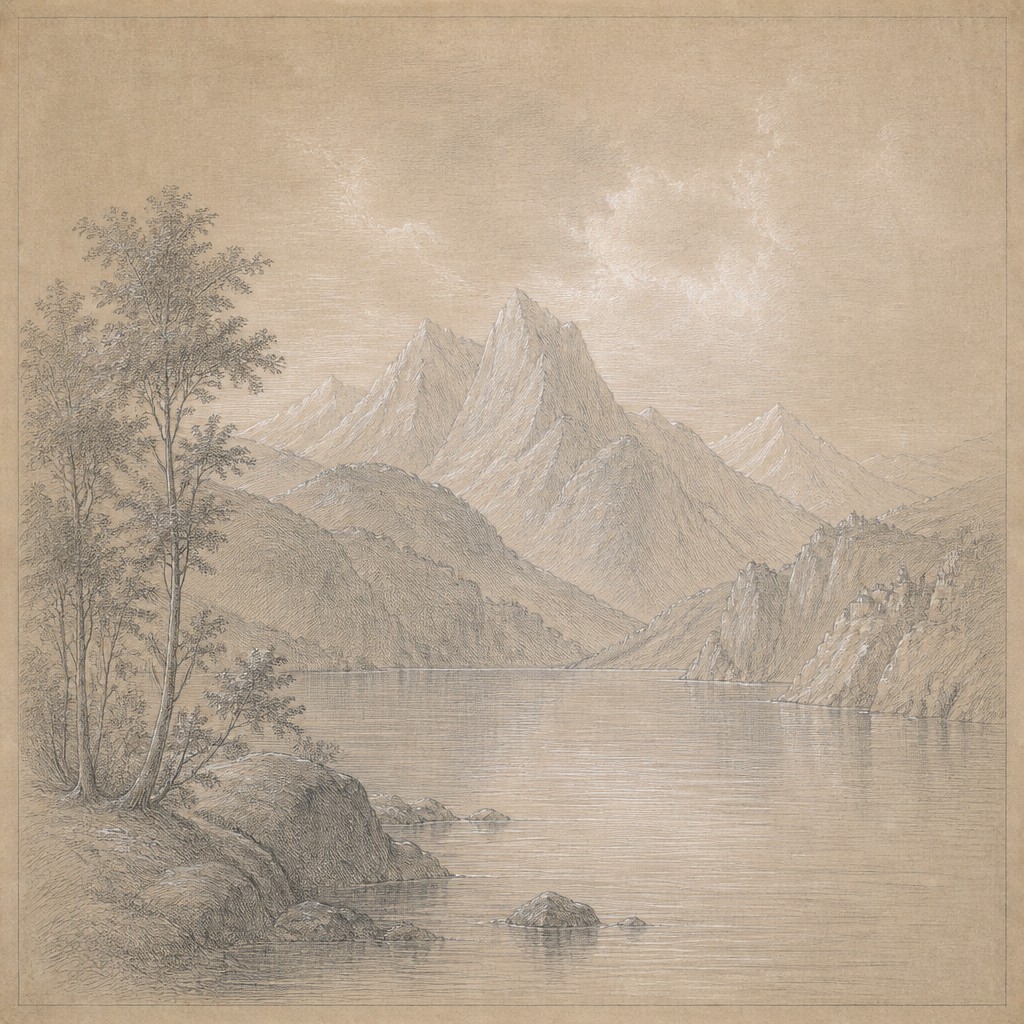
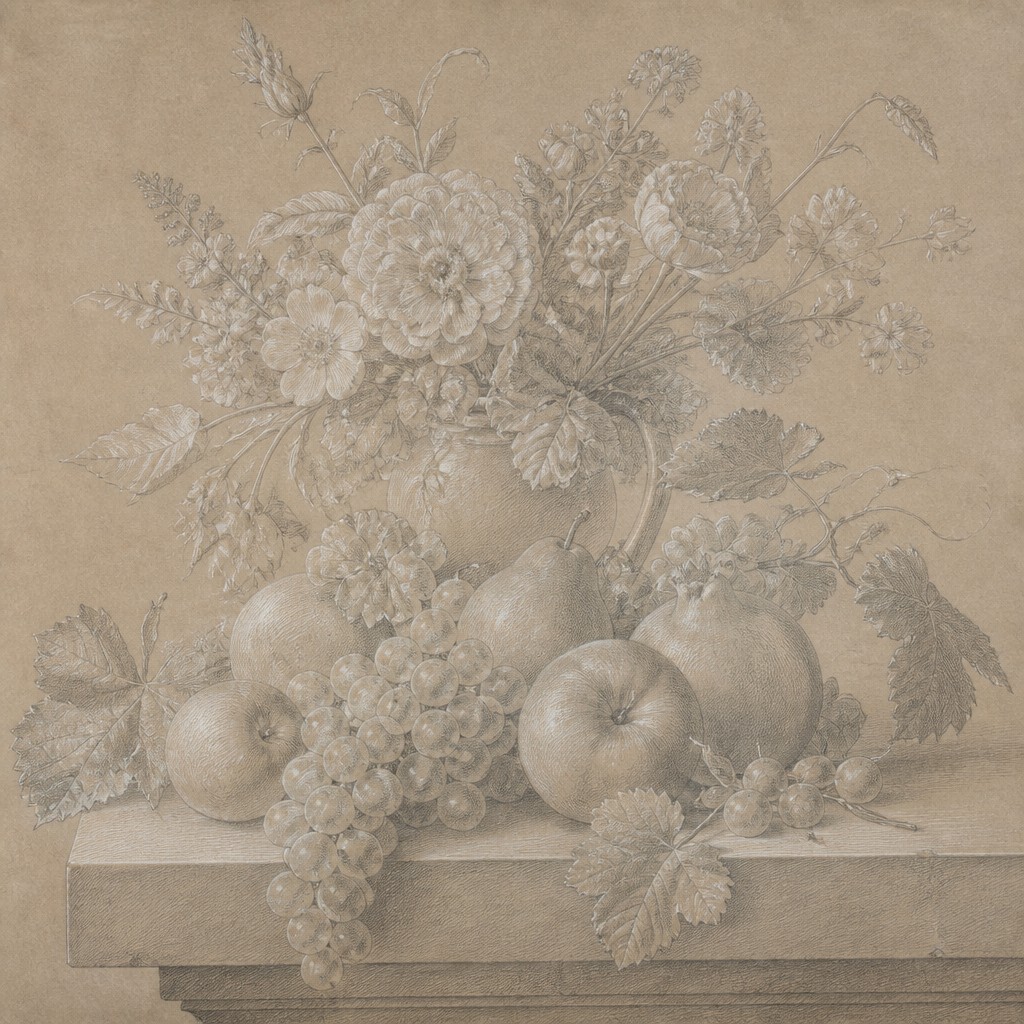
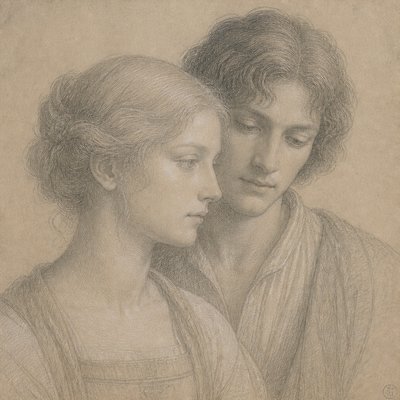
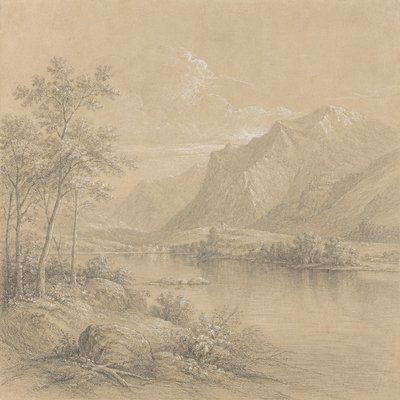
Silverpoint drawing is a precise metalpoint technique in which a silver stylus is drawn across a specially prepared surface. The stylus leaves extremely fine, permanent pale-gray marks that cannot be erased easily, producing an appearance of quiet discipline and exceptional linear control. The surface is commonly a softly toned ground made from chalk, gesso, or another slightly abrasive preparation rather than ordinary paper.
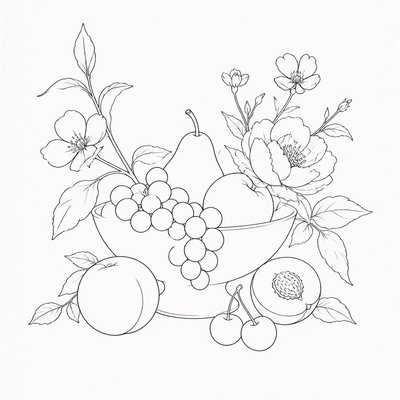
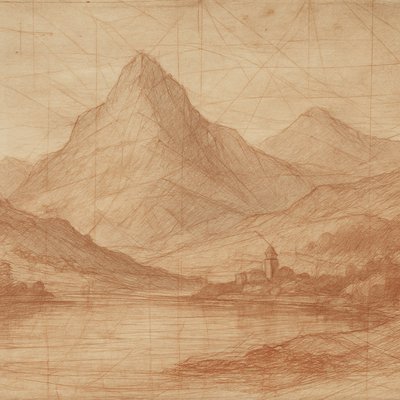
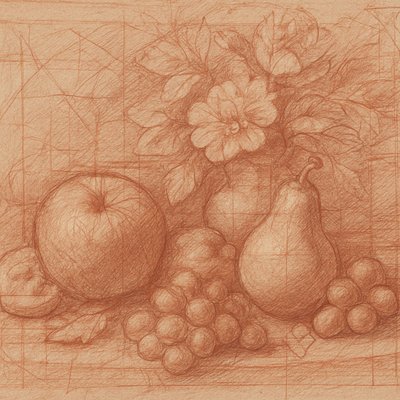
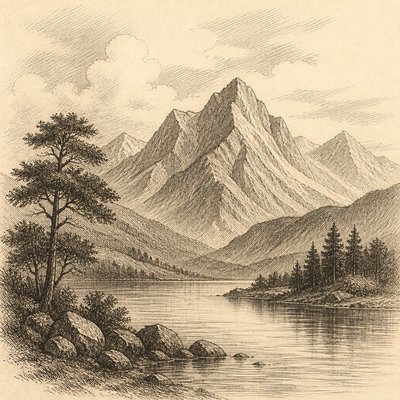
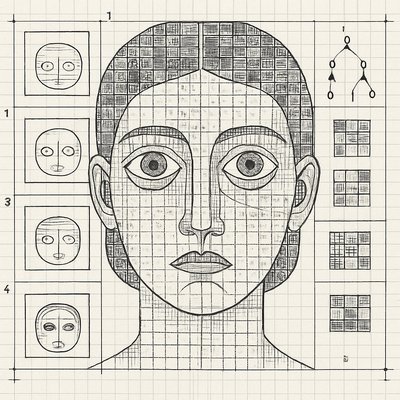
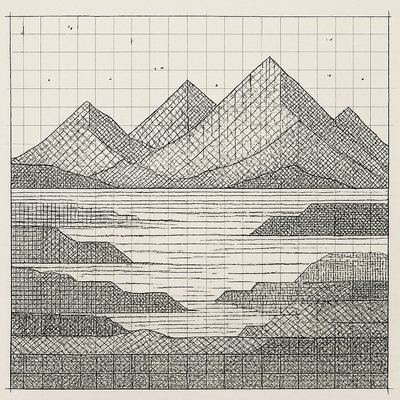
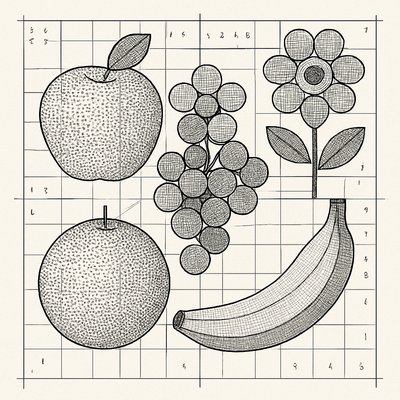
Its visual identity depends on restraint: narrow contours, delicate parallel hatching, subtle crosshatching, and carefully placed white highlights build form without the heavy blacks associated with charcoal or graphite. Silver gradually oxidizes, so older marks may acquire a warmer gray or brownish tone. The combination of muted parchment color, luminous highlights, and unbroken line gives the style its characteristic Renaissance-workshop refinement.
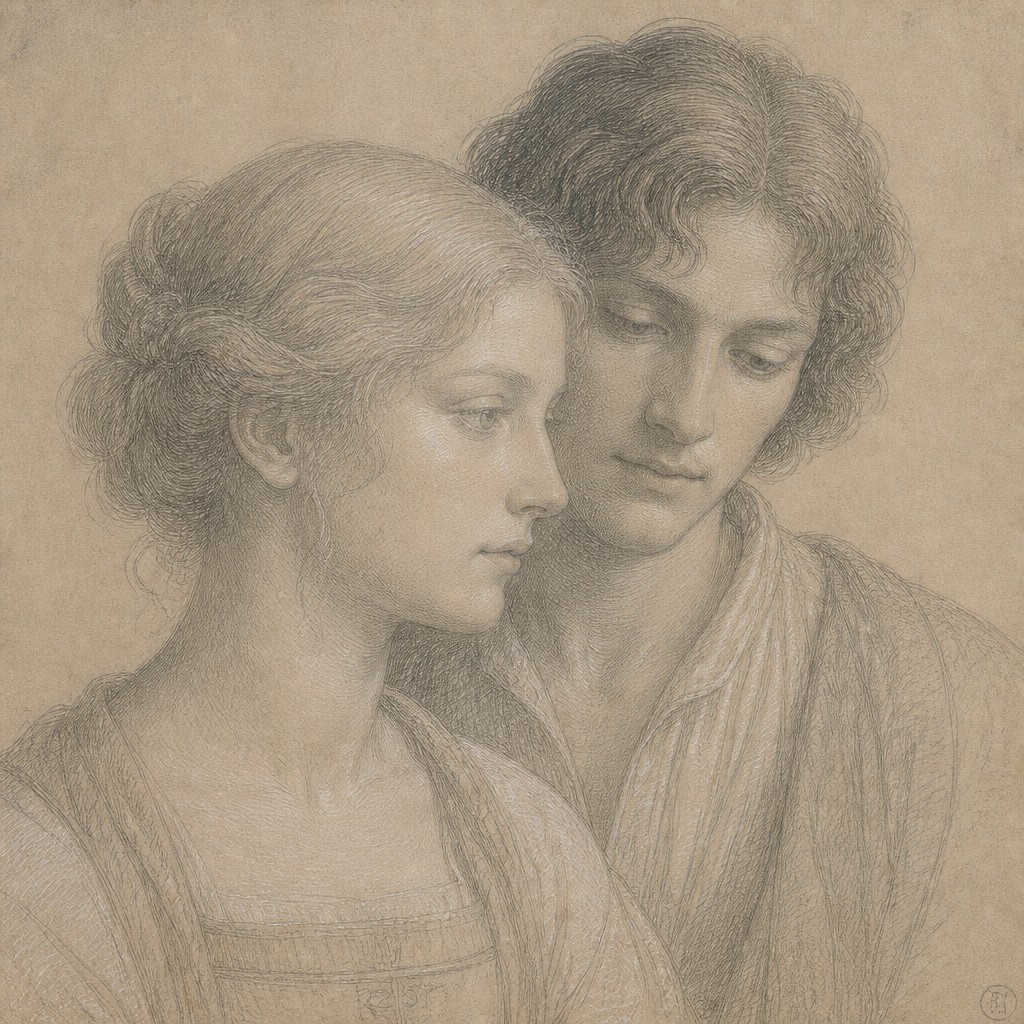
Try It On Your Photos
Upload any photo and convert it into Silverpoint Drawing Style — drag the sliders to compare before and after.
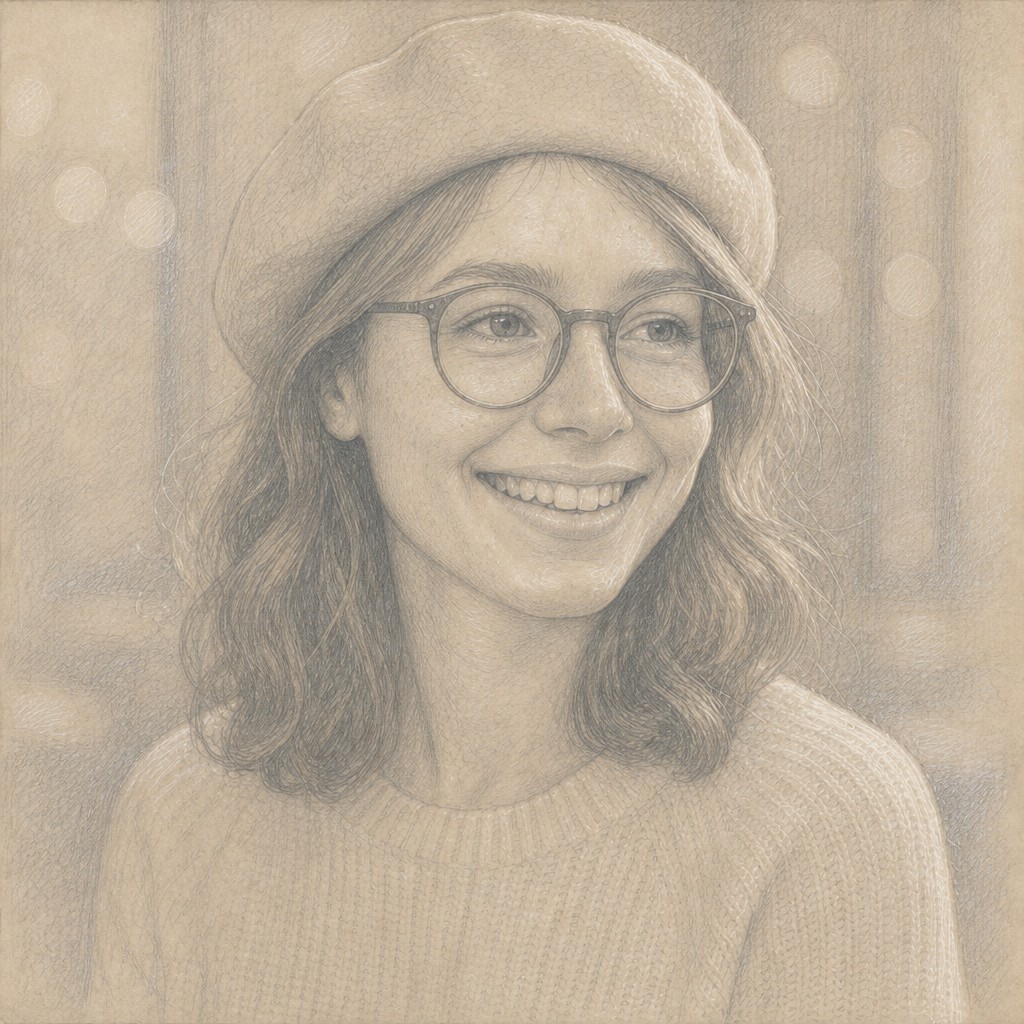

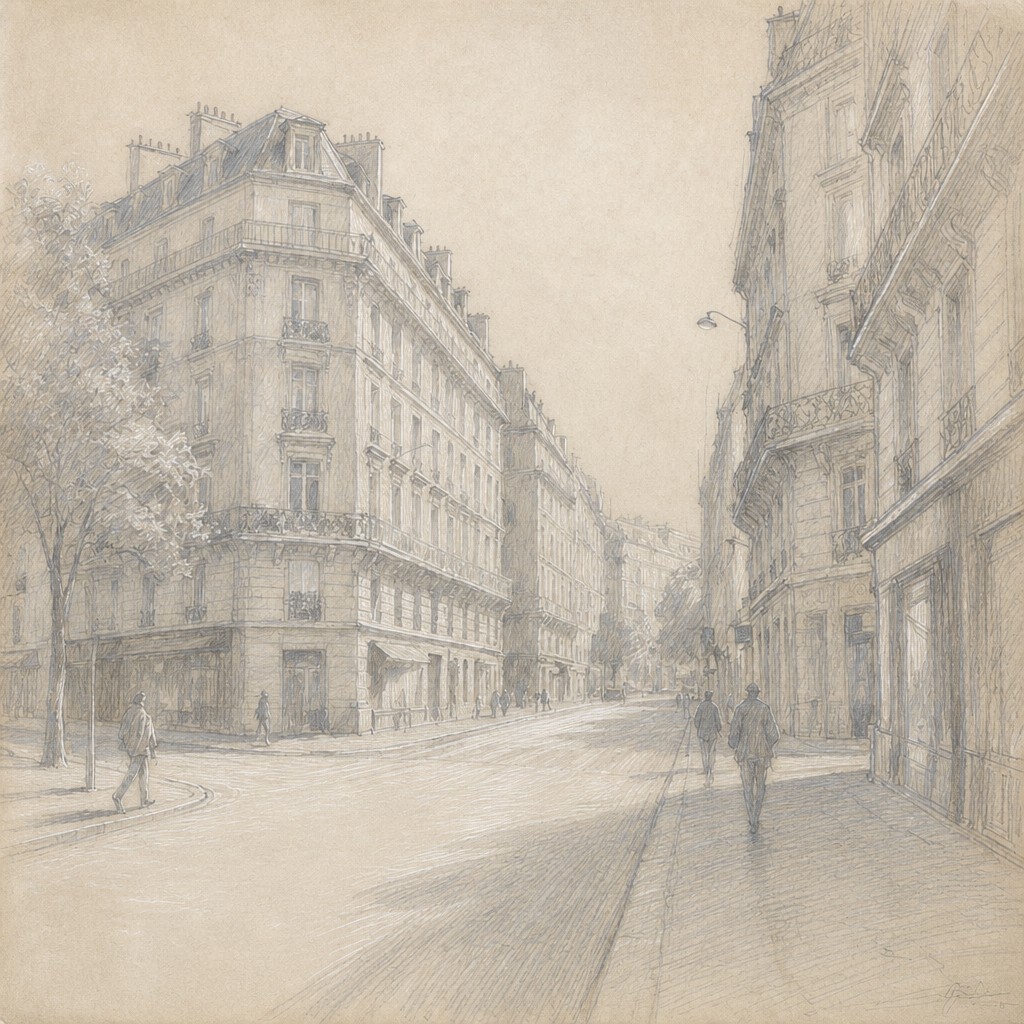
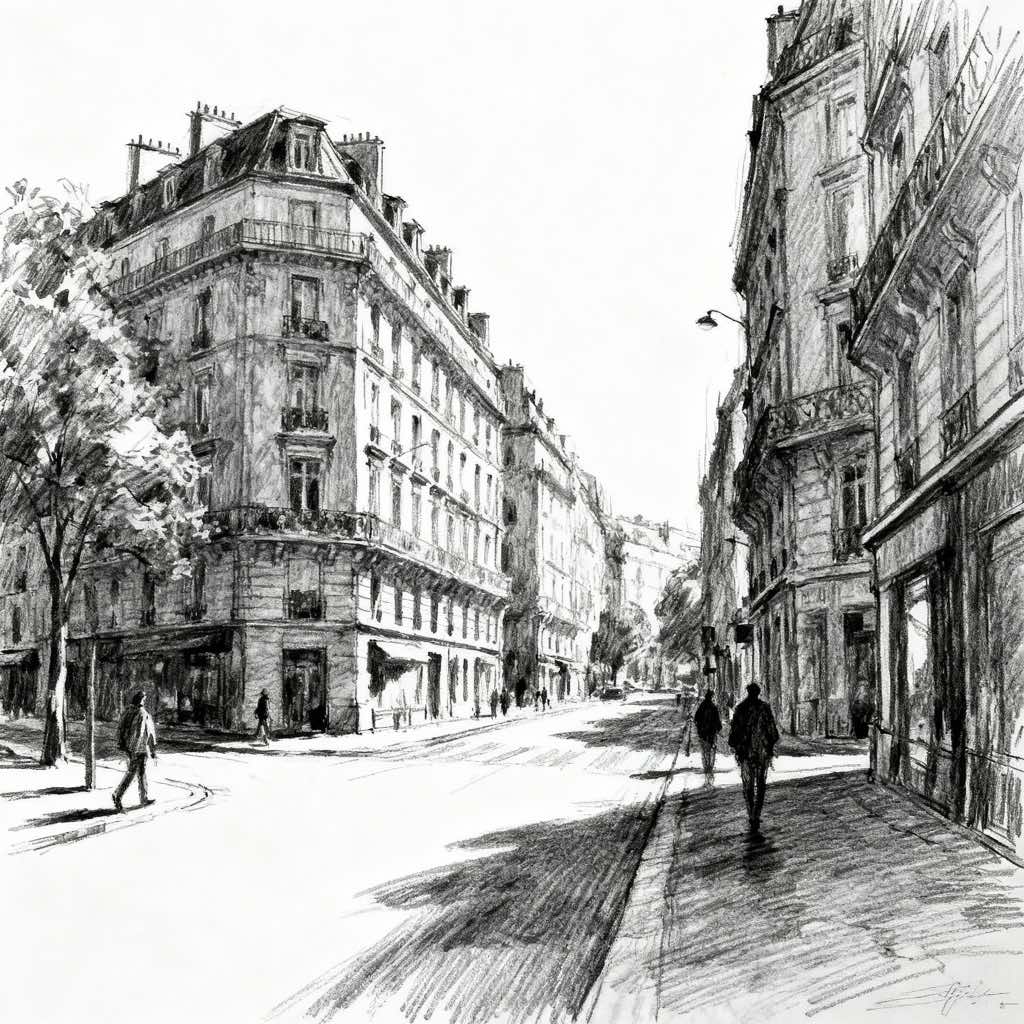
What Defines Silverpoint Drawing Style
The signature details, up close
Pale silver-gray line
The defining mark is a thin, cool gray line made by a silver stylus on a prepared ground. It is usually lighter and more delicate than graphite, with a subtle metallic clarity.
Prepared toned surface
A chalky, gessoed, or otherwise abrasive ground is essential because ordinary smooth paper will not hold the metal line effectively. Warm parchment, beige, rose-gray, and muted cream grounds are especially characteristic.
Unerasable precision
Silverpoint marks are difficult or impossible to erase, encouraging careful construction and deliberate contours. Corrections are generally made through additional lines, surface modification, or later white heightening.
Fine hatching
Gentle parallel hatching and restrained crosshatching describe volume, texture, and shadow. Tonal transitions are built gradually rather than through dense black passages.
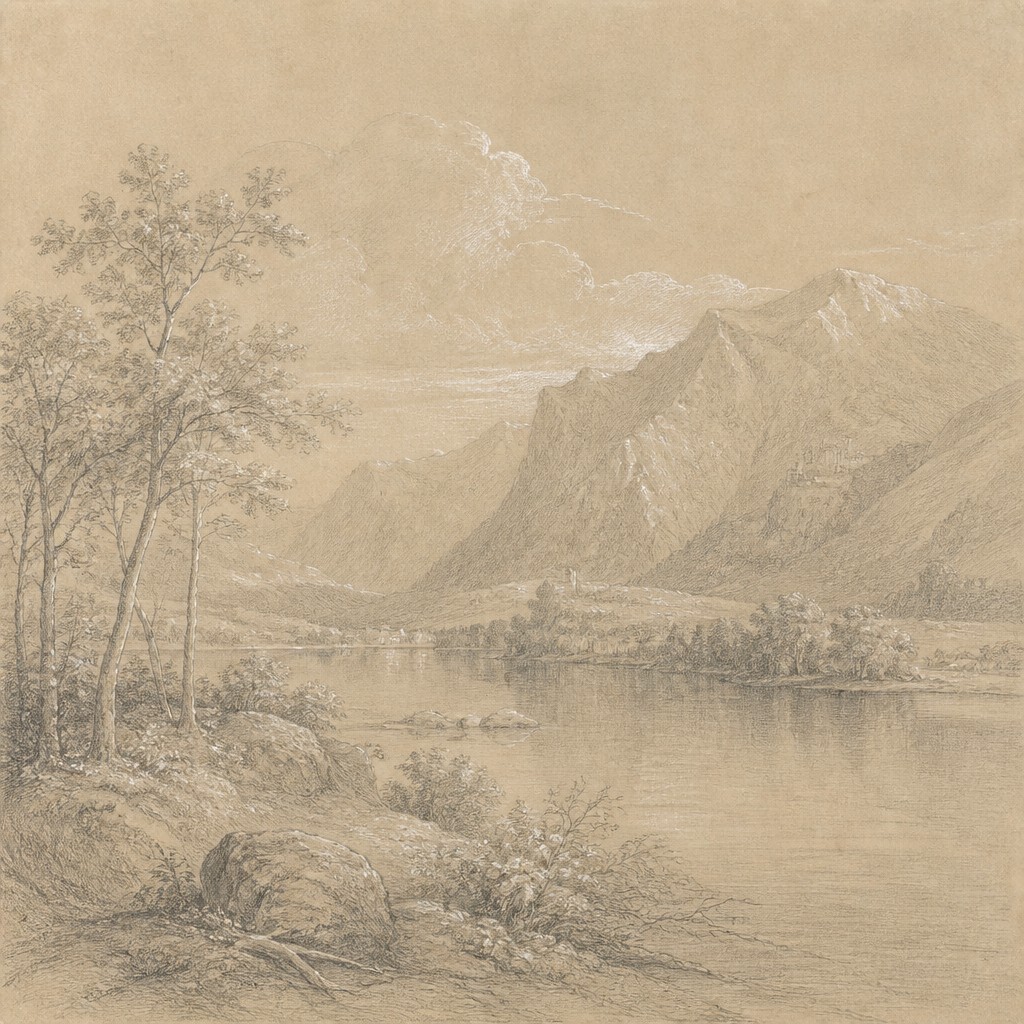
White heightening
White chalk, gouache, or digitally simulated highlights can be added to the prepared ground to model luminous areas. This creates a subtle interplay between silver-gray lines and raised light.
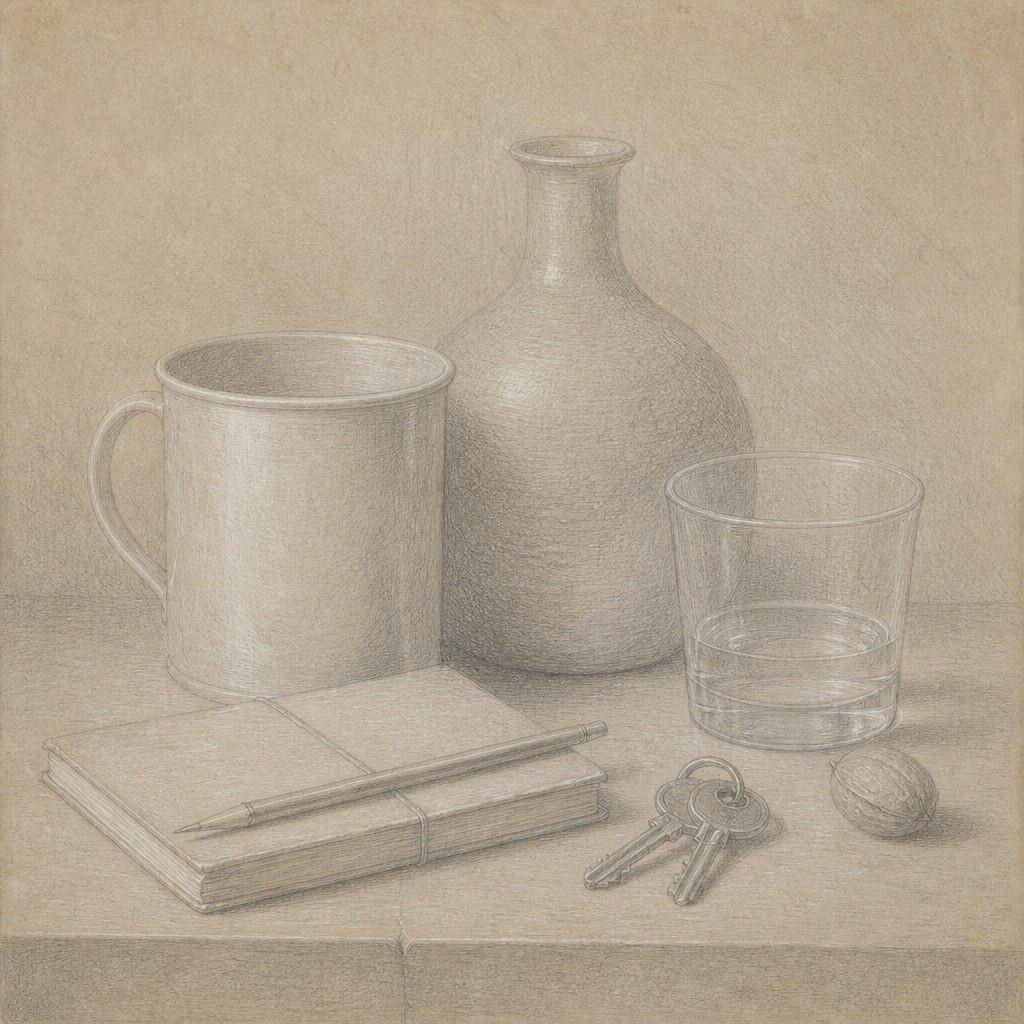
Muted Renaissance palette
The style favors quiet parchment tones, soft grays, desaturated browns, and restrained warmth. Strong chromatic color and dramatic contrast are generally avoided.
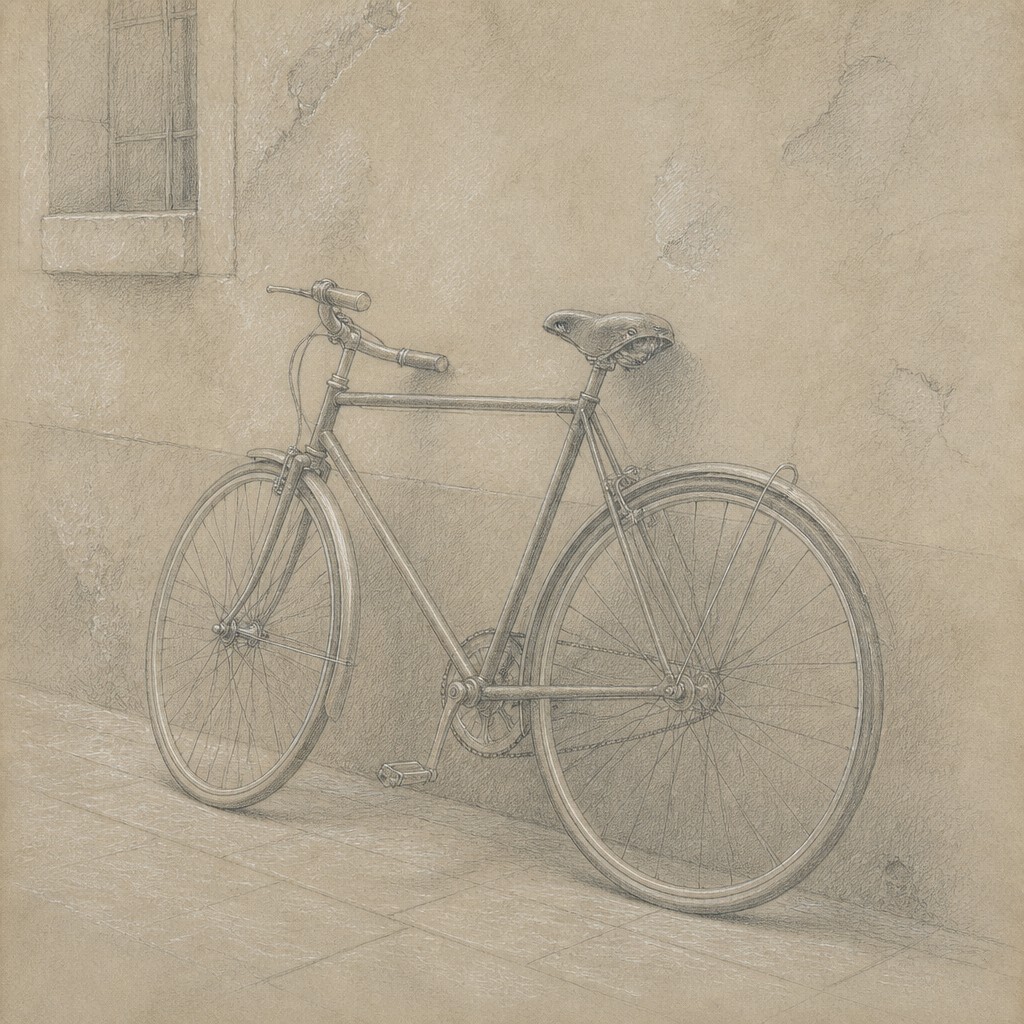
Observational structure
Proportions, anatomy, perspective, and contour receive close attention. Even imaginative subjects benefit from the method's underlying sense of measured study and workshop discipline.
Try It
Create Videos in Silverpoint Drawing Style
Styles aren't just for stills — describe a scene or animate an image and get a short video rendered in Silverpoint Drawing. Press play to see this pond come to life.
Make a VideoSilverpoint Drawing Prompt Ideas
Start from an idea — each one opens the generator with the style ready to go. See all 40 Silverpoint Drawing prompts →
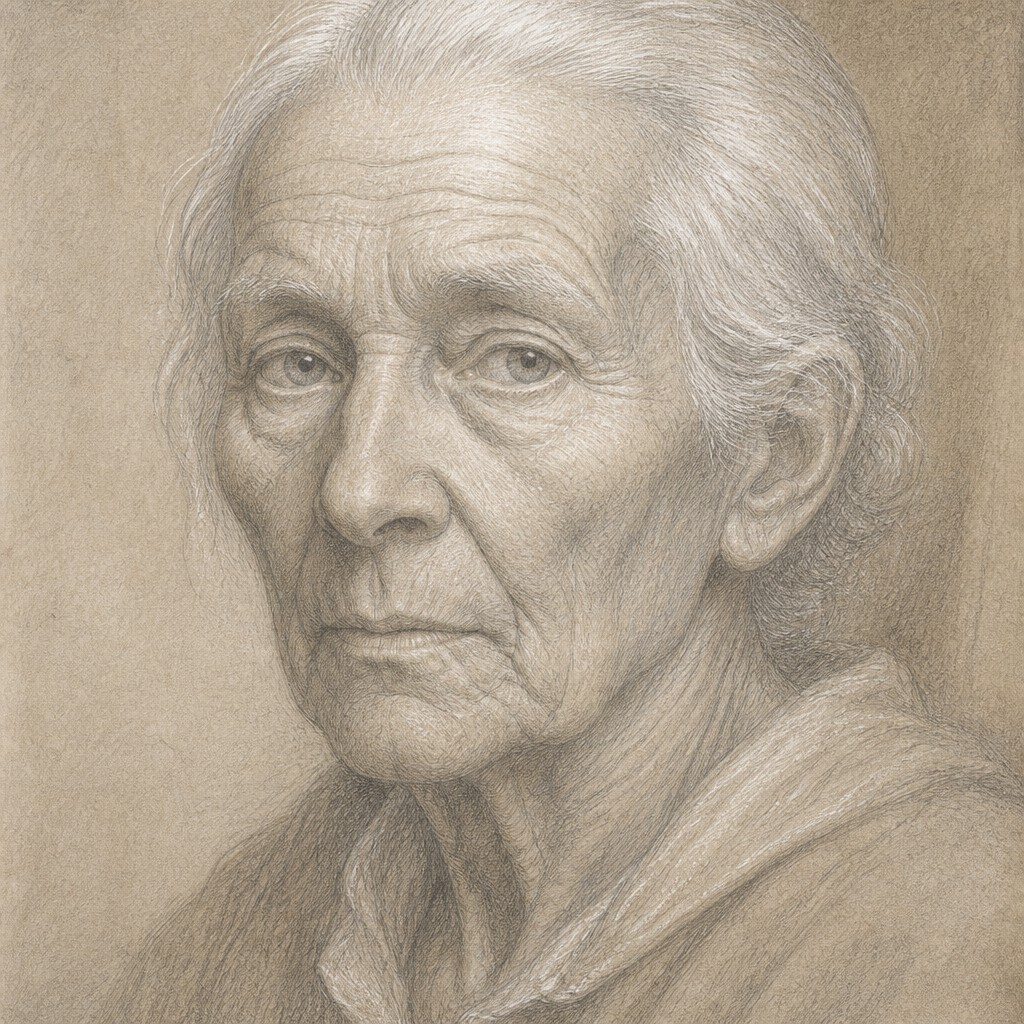
“close-up portrait of an elderly person with expressive weathered features”
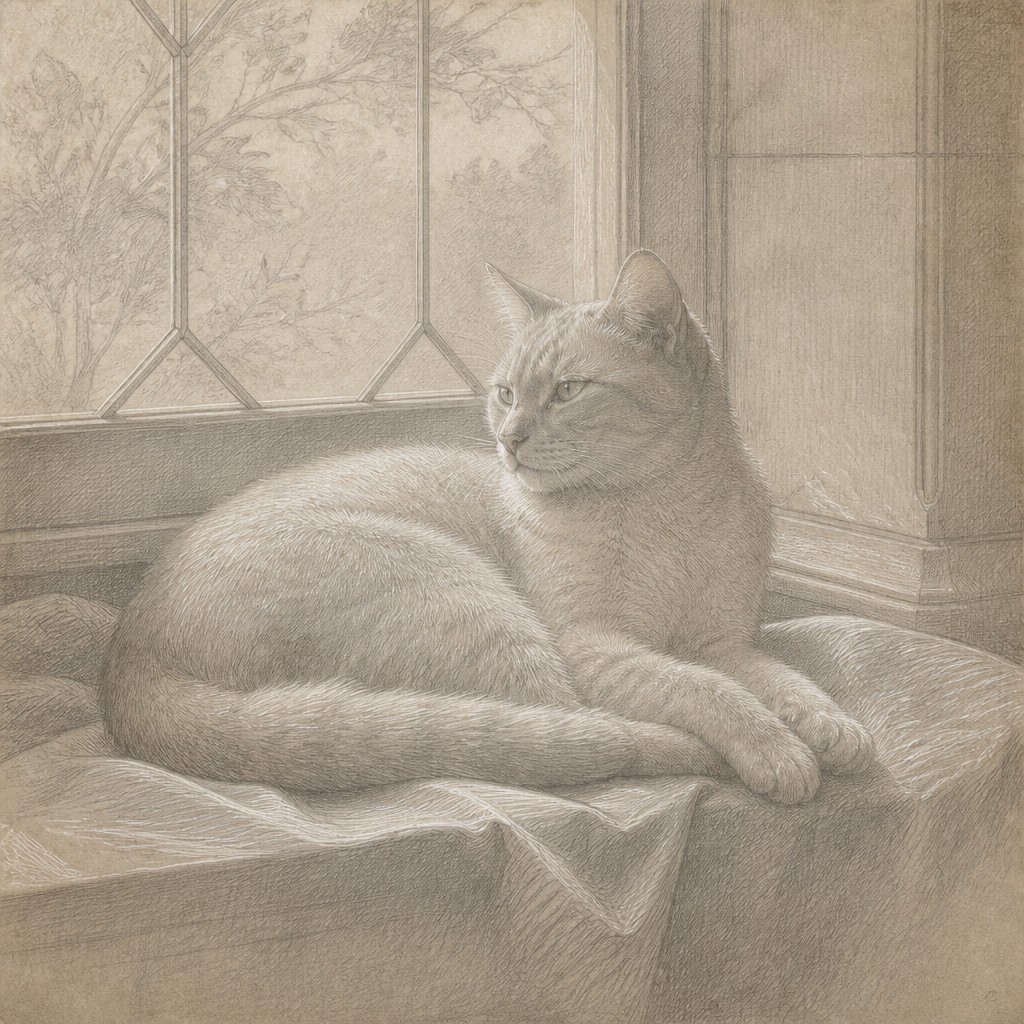
“a cat lounging in a sunlit window”
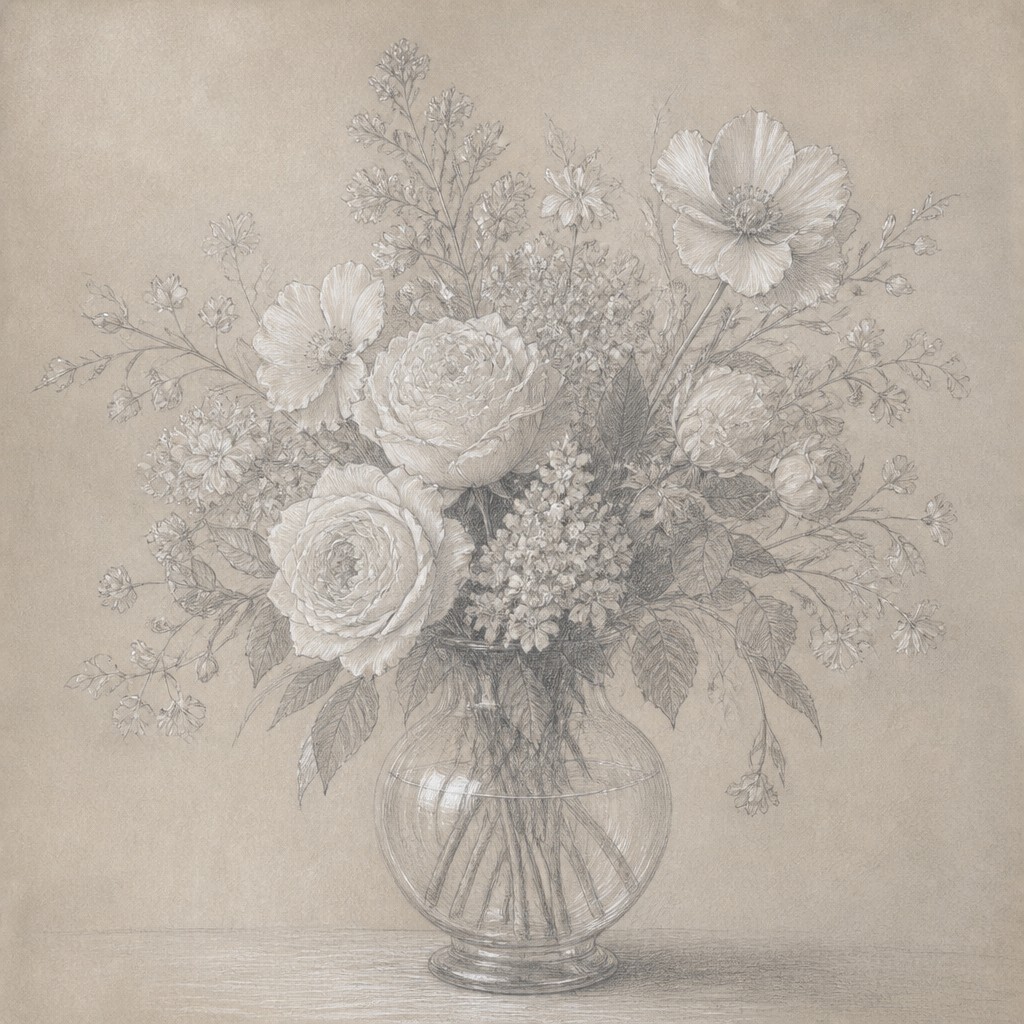
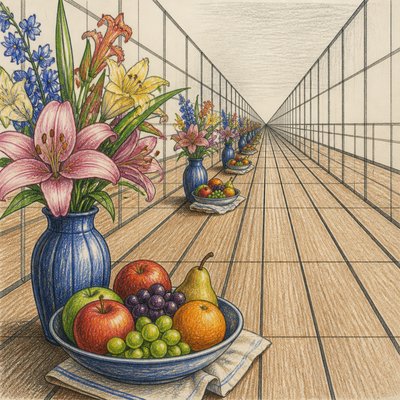
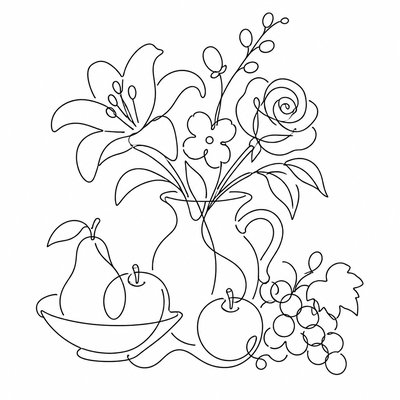
“bouquet of flowers in a glass vase”
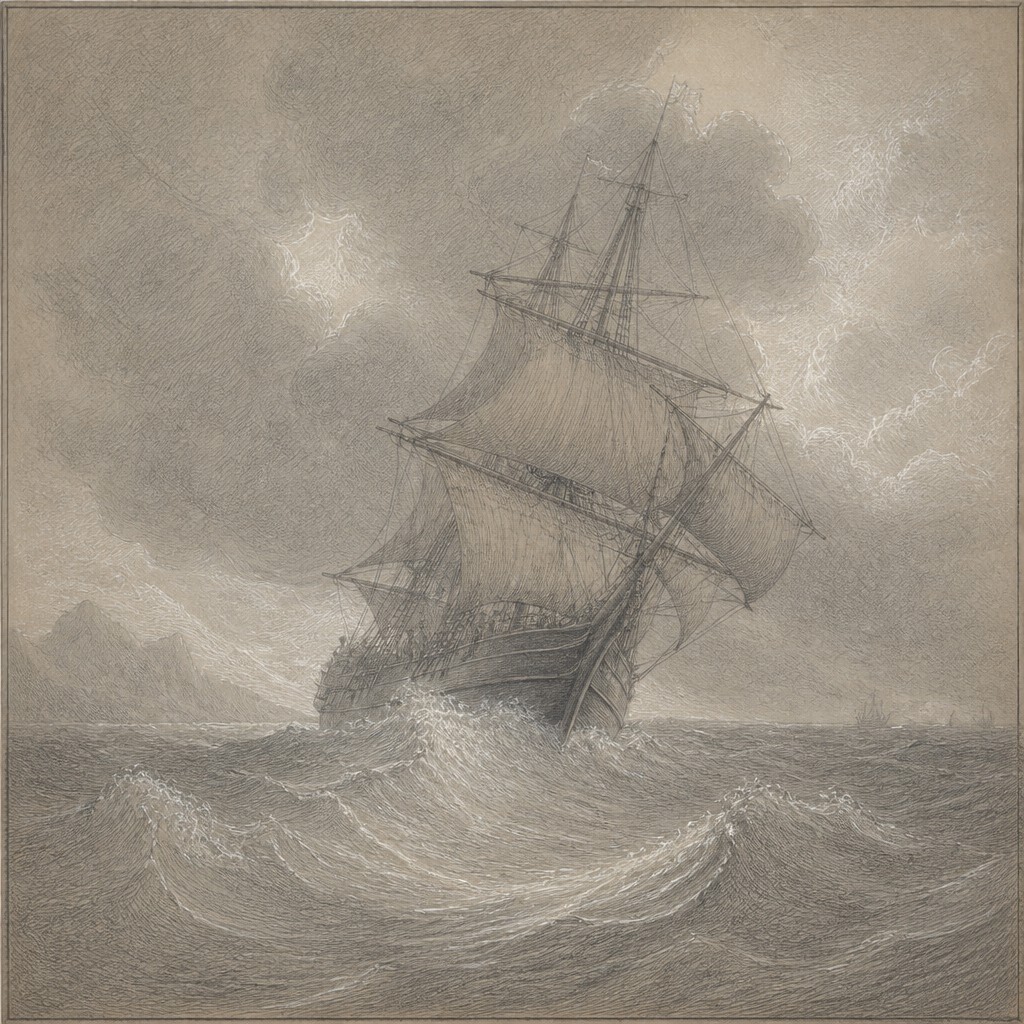
“sailing ship on a stormy sea”
How to Create Silverpoint Drawing Art
Master the craft step by step — or skip straight to creating. Read the full guide →
- 1
Prepare an abrasive ground
Traditionally, coat paper or panel with a thin chalk-and-glue, gesso, or colored ground and let it dry before smoothing it lightly. The surface should be firm and subtly toothy, not heavily textured.
- 2
Build the drawing gradually
Begin with light structural lines, then refine contours and proportions through repeated controlled strokes. Because the marks are difficult to remove, plan major forms before committing to darker passages.
- 3
Model with hatching and highlights
Use closely spaced directional lines to follow the volume of the subject, reserving crosshatching for deeper accents. Add white chalk or opaque digital highlights sparingly to establish the brightest planes.
- 4
Simulate the medium digitally
Use a fine textured brush, warm low-contrast ground, and a cool silver-gray stroke with limited opacity. Disable overly smooth vector effects and preserve slight variation in line pressure, spacing, and oxidation-like warmth.
- 5
Guide prompt-based generation
Specify a prepared parchment or toned gesso ground, extremely fine pale silver-gray contour lines, delicate hatching, white heightening, muted contrast, and Renaissance observational detail. Name the subject and composition clearly while avoiding heavy ink, saturated color, or glossy digital rendering.
The Story
History & Origins of Silverpoint Drawing
Metalpoint drawing has roots in ancient and medieval artistic practice, but silverpoint became especially prominent in European workshops during the late medieval and Renaissance periods. Artists used prepared grounds to give the metal enough resistance to deposit a visible line, allowing them to make studies of faces, hands, drapery, plants, architecture, and compositional details with great accuracy.
The technique remained valued for its permanence and precision, although graphite and other more flexible drawing materials gradually became more convenient from the sixteenth century onward. Silverpoint continued as a specialist practice and experienced periodic revivals among artists interested in historical drawing methods, finely controlled line, and archival materials. Contemporary versions may use traditional grounds, silver-bearing pencils, or digital processes that imitate the medium's pale marks and restrained tonal range.
Influences: Silverpoint is closely related to the broader European metalpoint tradition, including goldpoint and other stylus-based drawing methods. Its visual language also connects with Renaissance preparatory studies, manuscript illumination, chalk drawing, botanical illustration, anatomical observation, and the measured line of academic draftsmanship. Modern interpretations may borrow from minimalist illustration and archival sketchbook aesthetics while retaining the medium's restrained contrast and emphasis on permanent mark-making.
Frequently Asked Questions
What defines silverpoint drawing?
Silverpoint is defined by a silver stylus used on a specially prepared, slightly abrasive ground. Its lines are exceptionally fine, pale, and difficult to erase, with form usually developed through delicate hatching and occasional white highlights.
Is silverpoint the same as graphite drawing?
No. Graphite is darker, softer, and much easier to erase or vary in pressure, while silverpoint produces a finer and more permanent mark. Silverpoint also depends more strongly on a prepared ground and generally has a lighter, quieter tonal range.
Why does silverpoint look so pale?
Silver deposits a relatively light gray mark rather than a dense black one, especially when used with a delicate stylus. The surrounding toned ground and limited buildup of hatching further preserve its luminous, low-contrast appearance.
Can silverpoint be made on ordinary paper?
Usually not with reliable results. The paper or panel needs a prepared ground with enough tooth for the silver to abrade onto the surface; very smooth untreated paper may produce weak or invisible marks.
How can I create a convincing digital version?
Start with a warm parchment or gesso-like background, then use a fine textured brush in cool pale gray. Keep contrast restrained, layer directional hatching slowly, and add small opaque highlights rather than relying on broad soft shading.
What subjects work well in this style?
Portraits, hands, drapery, plants, animals, architecture, and still lifes are particularly suitable because the technique rewards close observation and controlled structure. Imaginative scenes can also work when their forms are described with measured contours and subtle modeling.
Create your first Silverpoint Drawing artwork
Describe anything — or upload a photo — and see it in Silverpoint Drawing Style in seconds.
Related Styles
Discover similar art styles